
Keeping a Trench Clean and Straight in North Carolina's Red Clay
October 6, 2026
Quick Answer: A clean, straight trench in North Carolina red clay comes down to four habits: dig when the soil moisture is right, keep the excavator moving in a controlled line, protect the trench bottom from water and traffic, and shape the bed so the pipe or conduit sits on firm, even ground. Red clay holds a vertical wall better than sand, but it turns slick and sticky when wet, cracks when dry, and hides rock and hardpan that pull a bucket off line. The crews that get tight, true trenches on Piedmont sites plan around the weather, read the soil as they dig, and do not leave an open trench sitting through a storm.
The excavator is sitting at the edge of the line on a Tuesday morning. Overnight rain left the surface dark and glossy, and the first pass of the bucket comes up in heavy, shiny slabs that cling to the teeth and smear across the spoil pile. Twenty feet in, the wall starts to slump at the top. By noon the bottom of the trench has a skin of orange mud on it, and the foreman is deciding whether to keep digging or shut it down. Anyone who has trenched in the Piedmont has stood in that exact spot.
We have been trenching across the Triad and the rest of the Piedmont for more than 25 years, and red clay is the soil we know best. It is not hard to work in once you understand how it behaves. This article walks through what makes it tricky, how to keep a trench clean and straight from start to finish, and what to plan before the crew arrives.
Why Red Clay Behaves the Way It Does
Red clay is the signature soil of the Carolina Piedmont. Cecil, the soil series named the official state soil of North Carolina, covers large parts of the region, and its red color comes from iron oxides in the clay subsoil. That clay is made of extremely fine particles that hold water tightly and let it go slowly.
Moisture Drives Everything
Dry clay can break into hard chunks, while properly damp clay cuts cleanly. Saturated clay becomes slick, plastic, sticky, and unstable.
Clay Changes With Depth
Piedmont lots may have softer topsoil, firm clay below, then weathered or solid rock. Excavation conditions can change within several feet.
Clay Moves
Clay swells when wet and shrinks when dry. Poorly prepared trench bedding can settle unevenly, while dry exposed walls may develop cracks.
Reading the Site Before the First Pass
A straight trench begins before the machine moves. We walk the line with the contractor or site manager and look at the things that will decide how the day goes.
Check The Surface And Recent Weather
Standing water, dark soil, and shiny ruts reveal ground saturation. If access cannot support equipment without rutting, the trench may become messy too, as churned material falls into the excavation.
Look At The Slope And Water Flow
A trench across a slope can collect runoff, while one running downhill may carry water along its length. Understanding drainage helps prevent the trench from becoming the site's lowest path.
Confirm What Is Already Underground
Before excavation begins, existing underground lines must be located and marked. Locating utilities is essential because clay can conceal old lines, abandoned conduit, and drain tiles missing from available plans.
Plan For Rock
Piedmont sites can contain shallow weathered rock or scattered boulders. If excavation encounters rock unexpectedly, discuss options such as changing attachments, adjusting the route slightly, or using another excavation method.
Decide Where The Spoil Goes
Wet red clay spoil is heavy, sticky, and slow to dry. Keeping it too close to the trench adds pressure to the wall, so place spoil back and maintain clear working access.
Digging a Straight Line
Straight trenches come from steady, deliberate work rather than speed. A few habits make the biggest difference.
Mark The Line Clearly And Keep It Visible
Use paint, flags, and stakes that remain visible through muddy conditions. Place reference marks away from traffic and check the excavation against them throughout the job.
Cut In Controlled Passes
Excavate in steady layers to keep trench walls plumb and bottoms level. Deep bites in one pass can pull equipment off line when soil conditions change unexpectedly.
Keep The Bucket Matched To The Job
A narrow bucket creates tighter trenches with less spoil and wall disturbance. Wider buckets move more soil, requiring additional backfill. Choose based on pipe width and bedding needs.
Watch The Walls As You Dig
Clay walls can show cracks, sloughing, or seepage before conditions worsen. Stop when warning signs appear and address them rather than continuing excavation and hoping conditions hold.
Hold Grade With A Reference, Not By Eye
Use a laser or transit to maintain accurate trench depth over longer runs. When drainage depends on consistent fall, proper grade control helps prevent low spots where water collects.
Tip: If the trench is going to sit open overnight, shape the spoil pile so it sheds water away from the edge, and keep the bottom as clean as the day allows. A few minutes of tidying at the end of the shift saves hours of cleanup in the morning.
Keeping the Bottom Clean
The trench bottom is where red clay causes the most trouble, because it is where the pipe, conduit, or cable will sit for decades.
Mud On The Bottom Is Not A Minor Problem
Wet clay beneath a pipe can create shifting or uneven compression. Before installation, the trench bottom should remain firm, level, and free of loose material.
Water Has To Go Somewhere
Standing water softens trench walls and turns the bottom unstable. Work in shorter sections, provide drainage, or schedule excavation so open sections can be closed quickly.
Keep Traffic Off The Trench Edge
Foot traffic, equipment, and deliveries near the edge add weight and weaken trench walls. Keep access routes and staging areas safely separated from the excavation.
Clean Out Before You Place
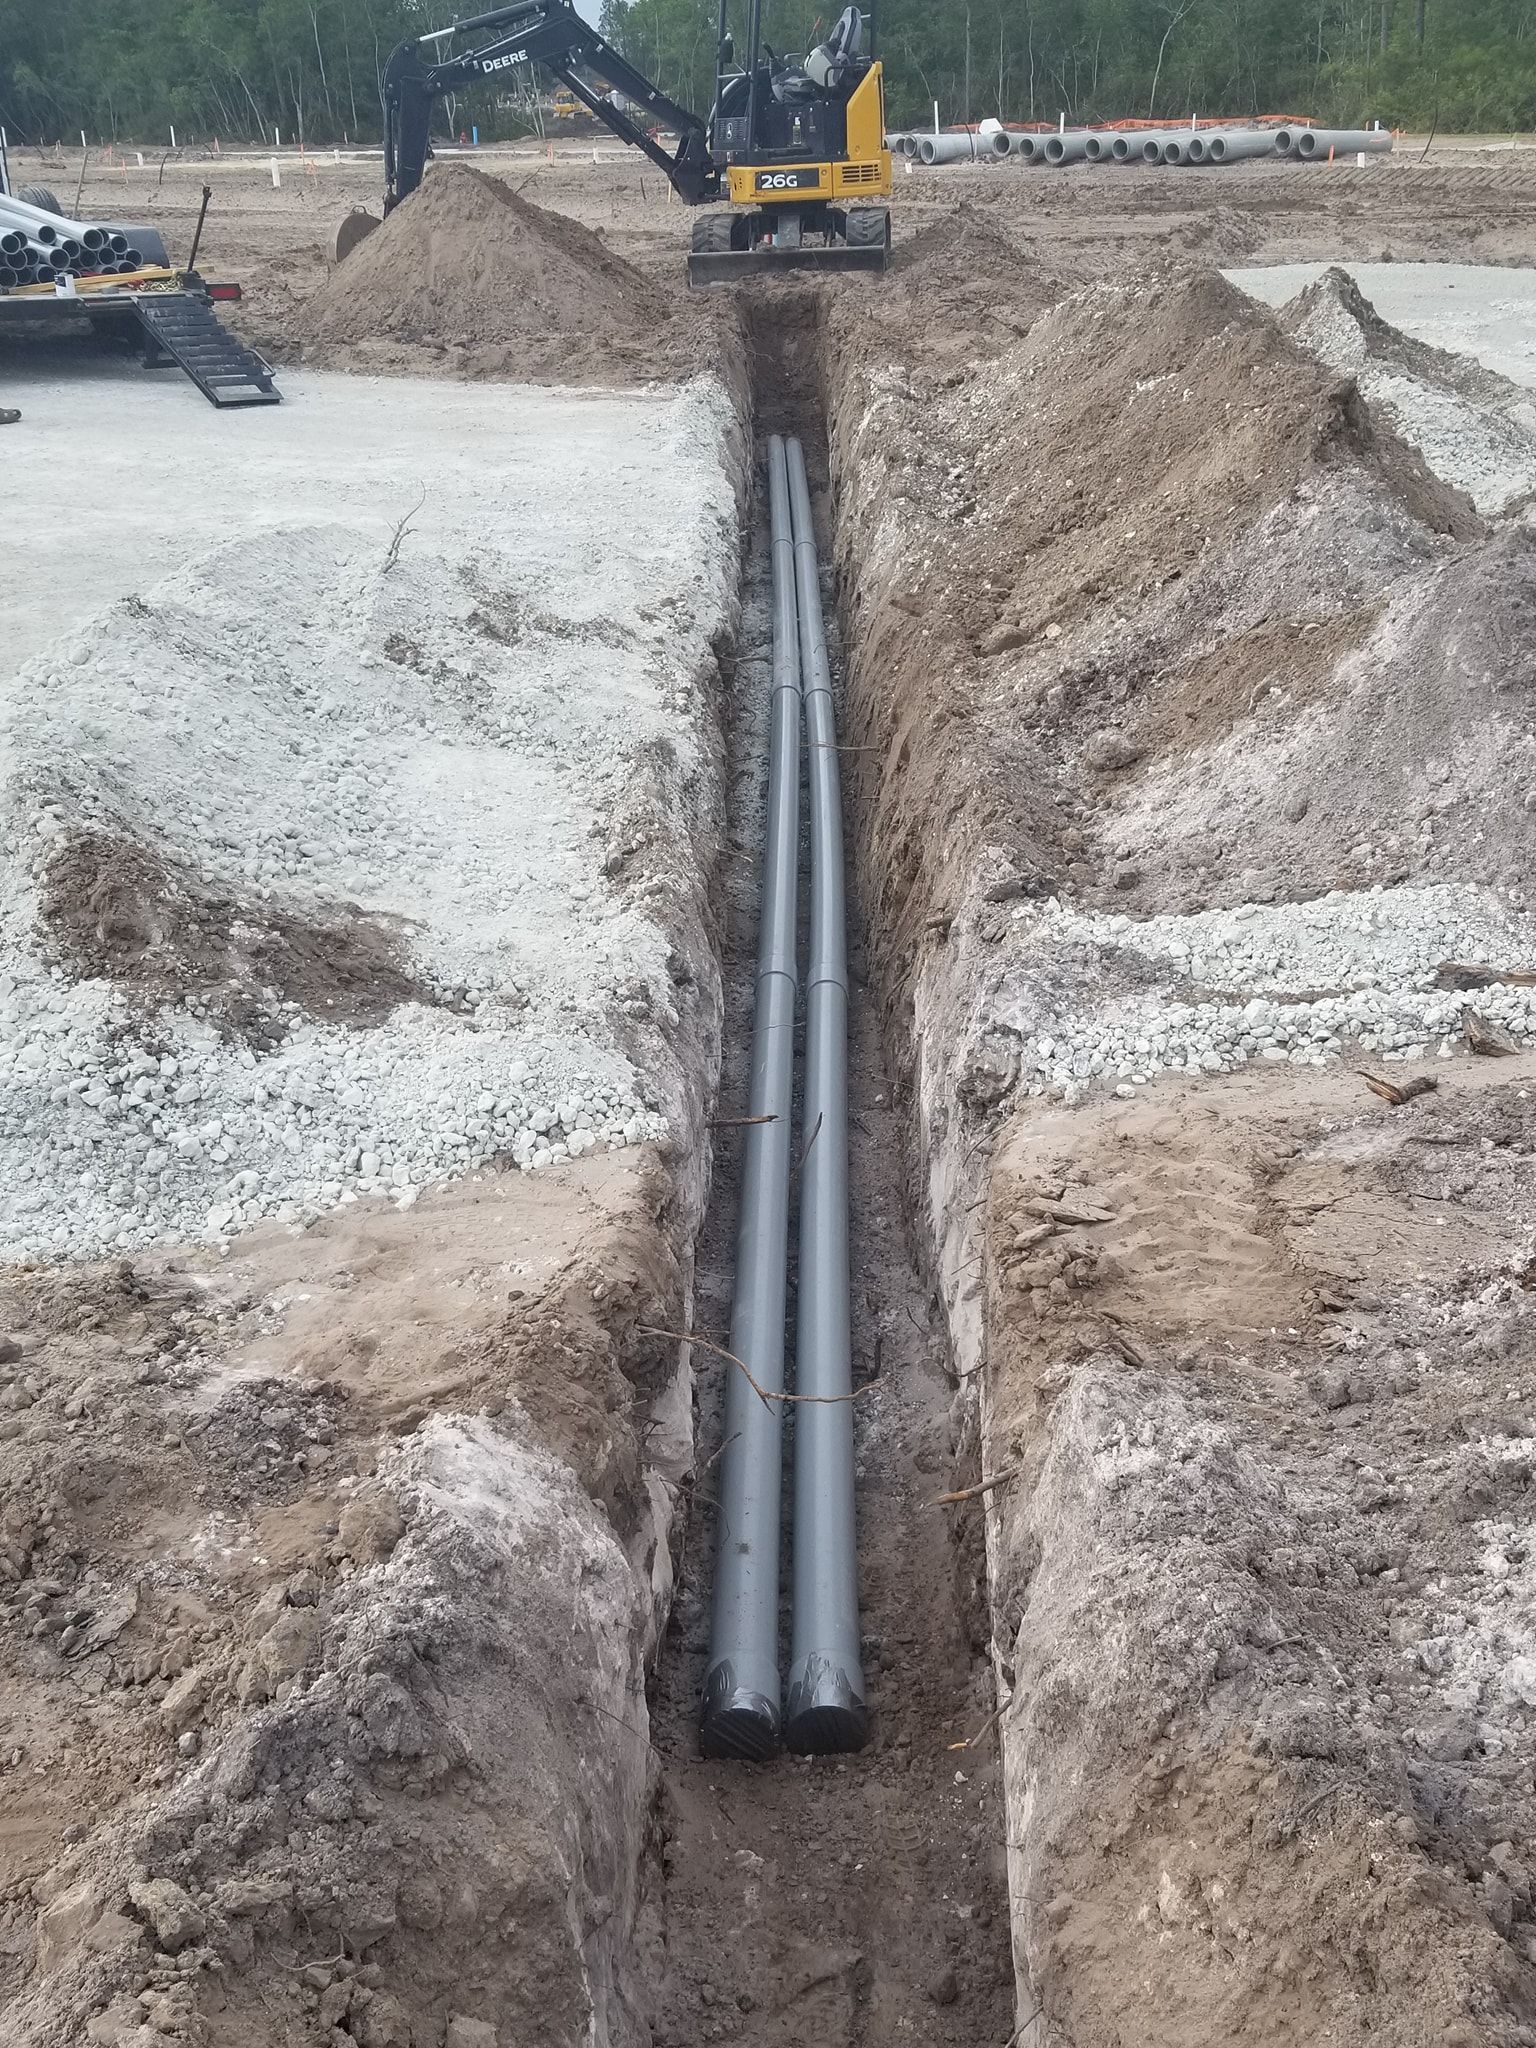
Before installation, remove fallen clay, loose rock, and debris. Sharp stones or hard lumps beneath pipes and cables can cause damage, requiring suitable bedding material when necessary.
Warning: Never send a worker into a trench with soft, saturated walls or visible cracking along the edge. Wall failures happen fast and without much notice, and clay that looked solid an hour ago can fail after a short burst of rain. If the walls are not safe, the answer is to change the plan, not to hurry.
Bedding, Placement, and Backfill
Once the trench is open and clean, the work turns to what goes in it. Clay makes the bedding and backfill decisions matter more.
Give The Line A Firm, Uniform Bed
Provide continuous support beneath the pipe or conduit, avoiding hard points and soft spots. If native clay cannot provide that, suitable bedding material may be necessary.
Do Not Backfill With Wet Clay Clods
Large wet clay clumps can leave voids as they dry and settle. If spoil is too wet or lumpy, dry, break up, or replace it before backfilling.
Place And Compact In Lifts
Place backfill in layers, compacting each lift before adding another. This helps protect the installed line and creates a stable surface, reducing future settling and dips.
Protect The Line During Backfill
Use rock-free, debris-free material around the installed line. Handle backfill carefully so equipment does not drop heavy material directly onto pipes or conduit, preventing unnecessary damage.
Think About Water Along The Trench
Loose backfill can sometimes create a pathway for water along the trench, especially on slopes. Consider site drainage conditions and discuss appropriate solutions with the contractor beforehand.
Building the Trench So the Conduit Stays Straight
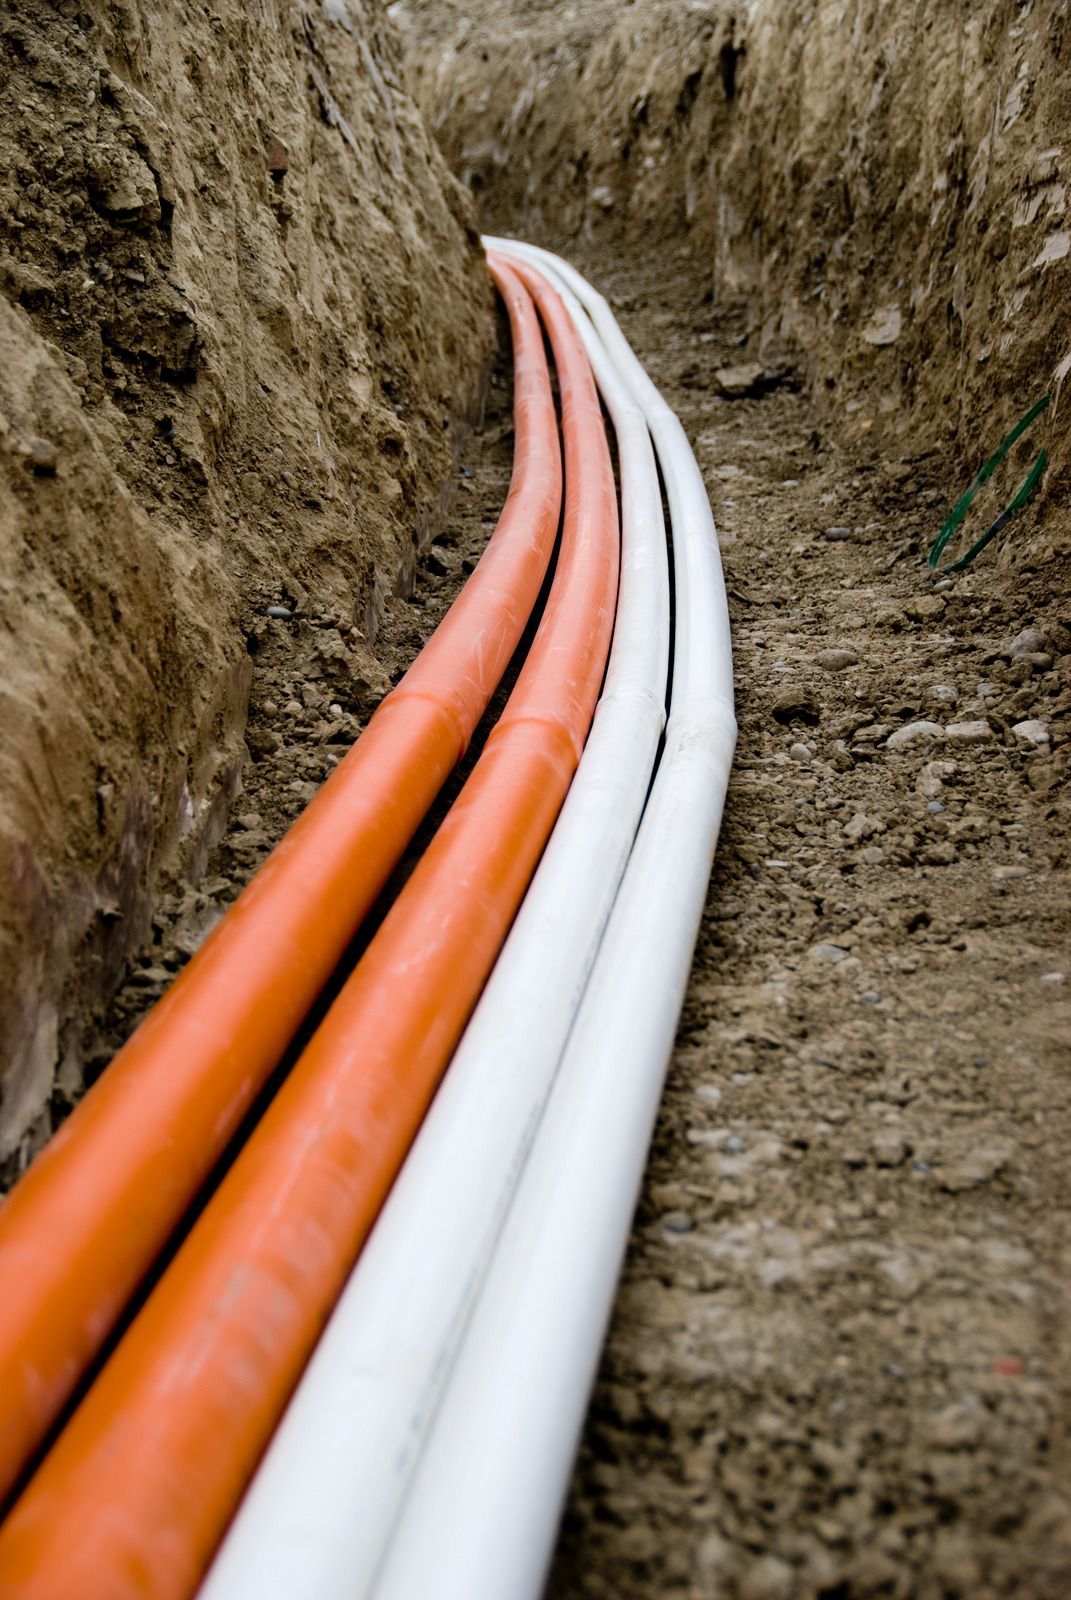
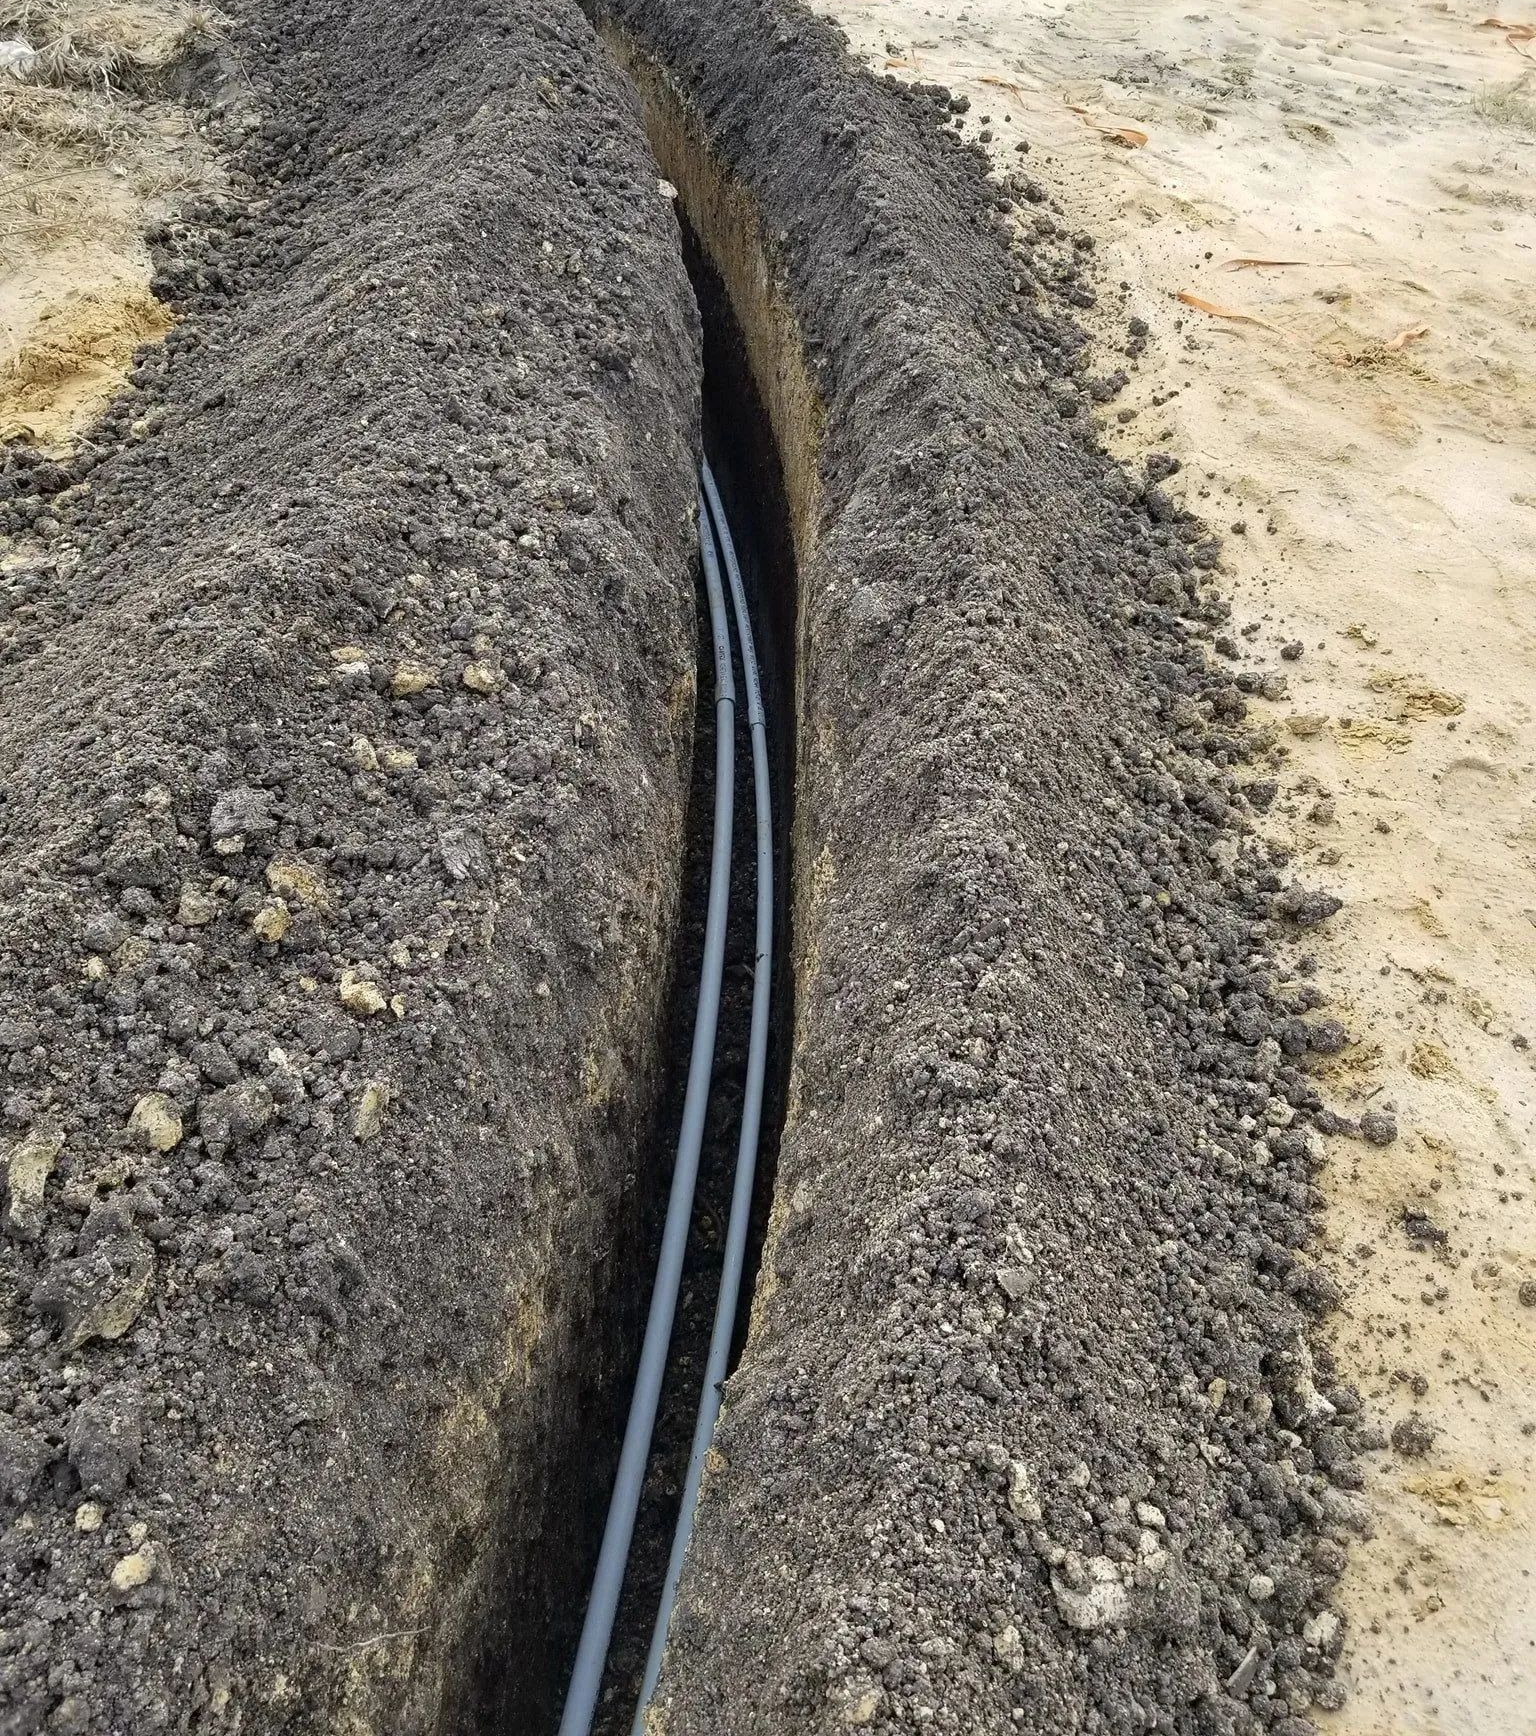
A clean trench is the foundation of a clean pathway. Small conduit is flexible enough to sag and shift, and once it is buried, you cannot see what it is doing.
Grade The Trench Bottom
Keep the trench bottom even, removing rocks and roots, while directing drainage toward a handhole or low point. Avoid dips and rises that create belly points where water and silt collect.
Set Consistent Depth
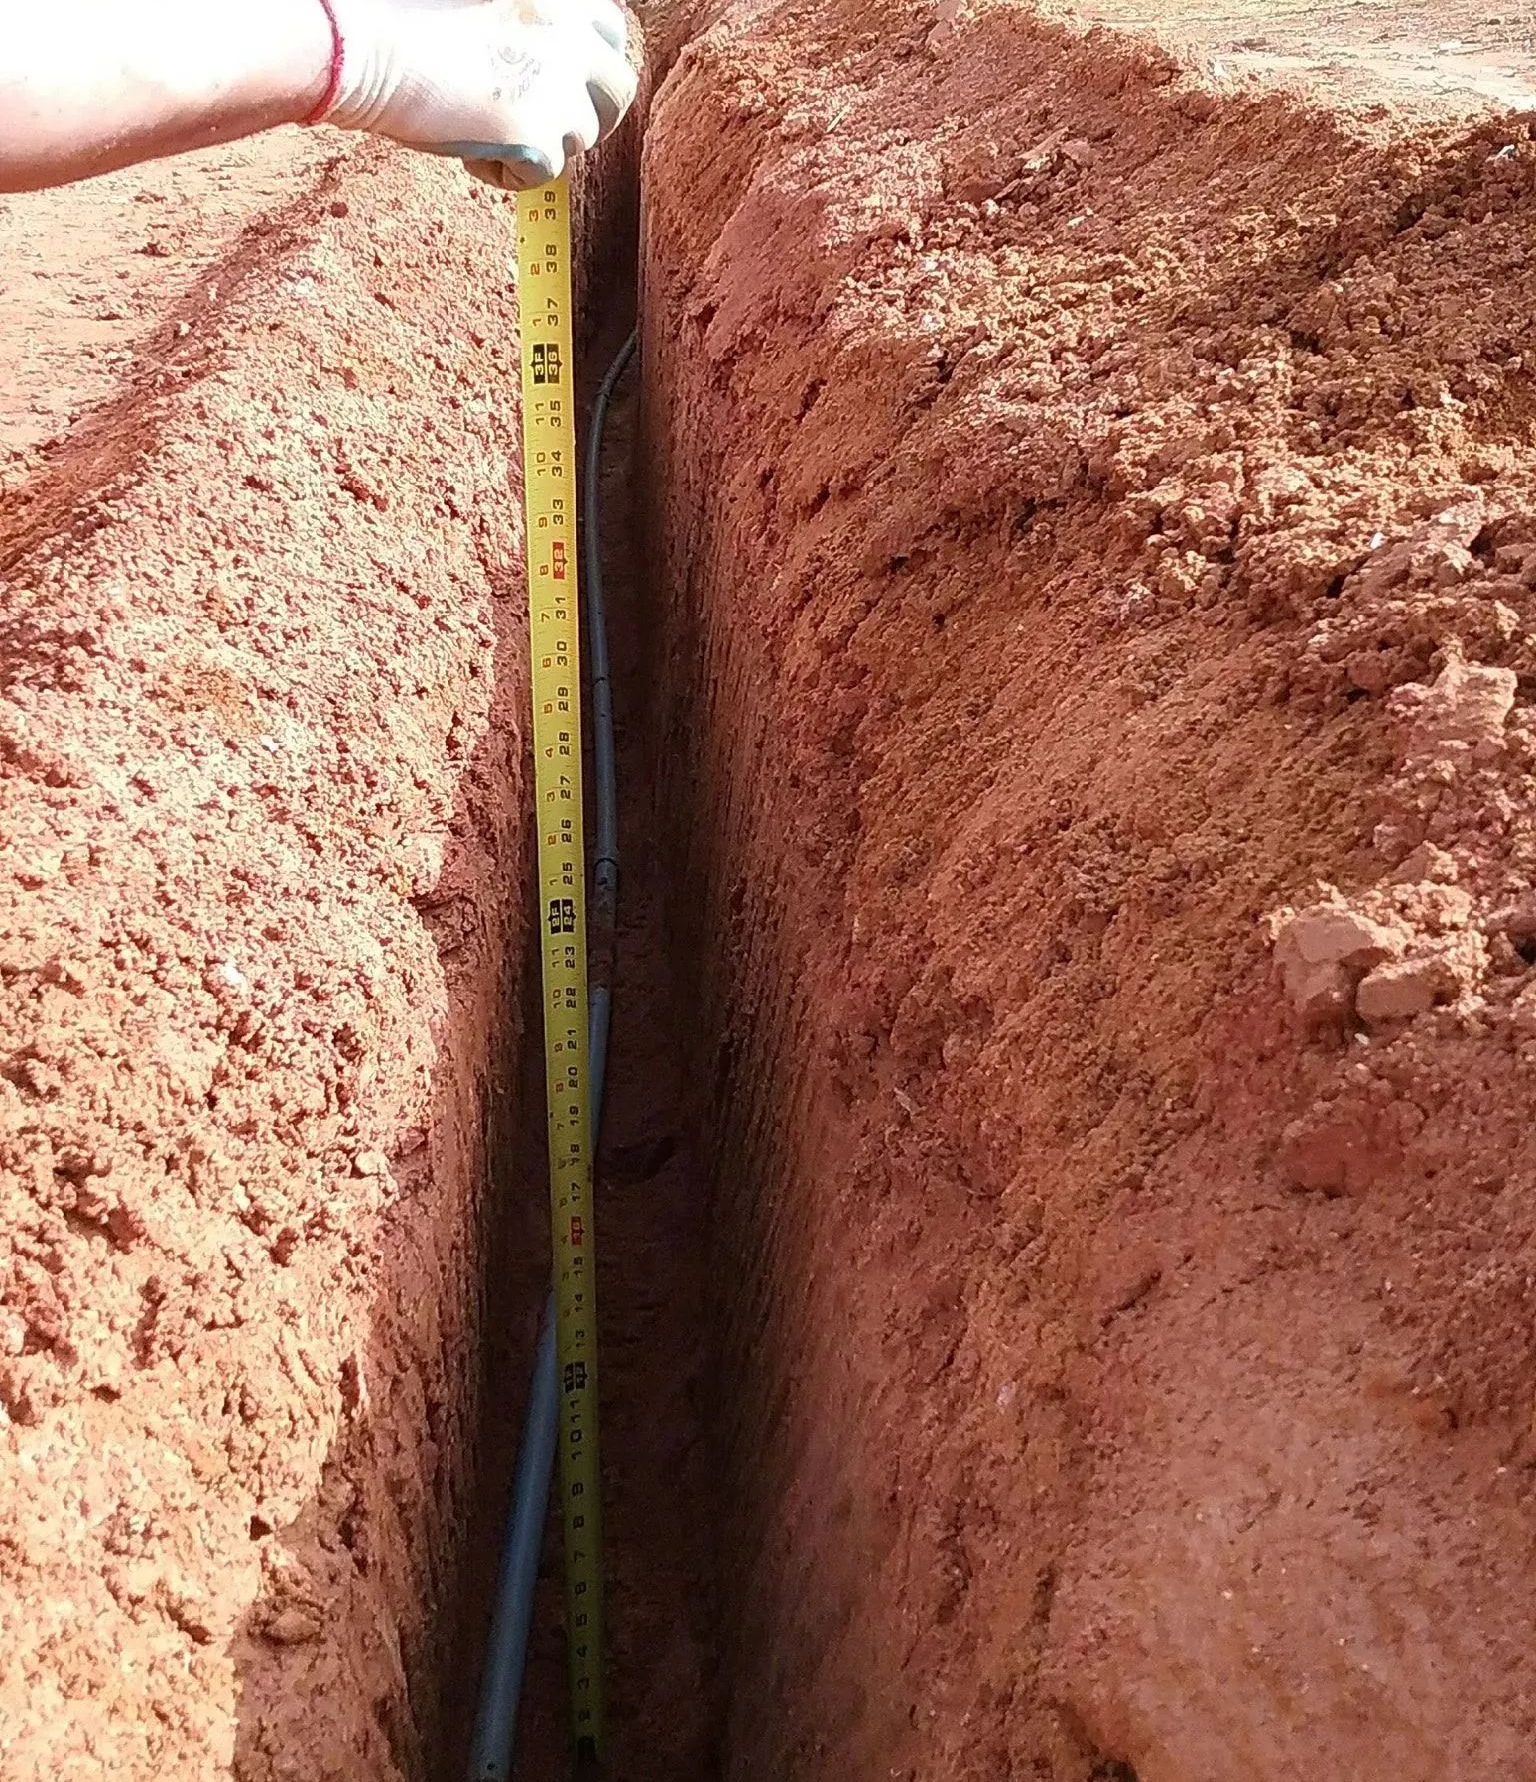
Maintain consistent conduit depth to protect against surface activity and future digging. Follow project plans for depth requirements and check measurements at intervals while the trench remains open.
Use Proper Bedding
Place clean bedding beneath and around conduit to prevent damage from sharp rocks, hard clay clods, backfill pressure, or settling. Proper support becomes especially important on rocky Piedmont ground.
Keep Sweeps Gentle
Use long radius sweeps at direction changes and risers to simplify cable pulls and protect cable jackets. Tight elbows can make installation difficult, particularly with fiber and data cables requiring careful bend control.
Place Pull Boxes And Handholes Strategically
Install pull boxes and handholes where cable pulls become long or multiple bends accumulate. Adding access points during trenching is easier than retrofitting them later. Confirm locations with the low voltage contractor beforehand.
Install A Pull String Or Line
Leave a pull string inside every conduit to simplify future cable installation and confirm the pathway remained open during burial. Cap both ends securely to prevent mud and water from entering.
Tip: Before you close a low voltage conduit run, have someone pass a mandrel or proving line through it and confirm it moves freely end to end. Catching a crushed or misaligned section while the trench is still open takes minutes. Catching it after backfill and paving means reopening the ground.
Planning the Work Around Weather
On the Piedmont, weather is part of the schedule whether anyone writes it in or not. Red clay punishes crews that ignore it.
Watch The Forecast, Not Just The Day
Ground conditions depend on recent rainfall, not simply today's weather. A site receiving heavy rain Saturday may remain too wet for excavation Monday.
Sequence The Work So Open Trench Is Short Lived
Coordinate excavation, installation, and closure closely so trenches remain exposed briefly. This reduces storm exposure while helping preserve stable walls and bottoms.
Have A Plan For The Pause
Sometimes stopping saves time. Pulling crews, protecting exposed sections, and returning after drying can prevent rework. Establish who decides when work should pause.
Keep The Access Route In Mind
Access roads and staging areas become muddy alongside trenches. Stabilizing routes or choosing better paths keeps equipment moving and prevents mud from entering the excavation.
When Rock or Hardpan Shows Up
Straight trenches in the Piedmont often have to deal with the unexpected underneath.
Hardpan And Weathered Rock Slow The Bucket
Dense hardpan and weathered rock can resist standard buckets. Changing attachments, approach angles, or excavation sequences can maintain progress while limiting wall disturbance.
Boulders And Rock Edges Pull The Line
Buckets catching rock edges can shift off line and gouge trench walls. Slow excavation when soil changes and work around obstructions rather than forcing through them.
Know When Another Method Fits Better
Some sections, such as driveways, roads, or landscaped areas, may be better suited to boring than open excavation. Choosing methods appropriately keeps disruption lower and progress moving.
What Contractors Can Do to Help the Trench Go Right
The most effective things a general contractor, developer, or site manager can do need no special equipment and happen before we arrive.
Share The Plan Early
Set utility routes, depths, crossings, and connection points before equipment arrives, rather than deciding them during excavation.
Clear The Line
Remove brush, debris, stockpiles, and parked equipment beforehand. A clear corridor keeps excavation moving and reveals potential hazards.
Coordinate The Trades
Tell electricians, plumbers, and low-voltage contractors when the trench opens and what materials or preparations they need beforehand.
Agree On Who Makes The Weather Call
Decide beforehand who can stop work because of wet ground, preventing disagreements when conditions deteriorate.
Keep Other Traffic Away
Keep deliveries, concrete trucks, and other equipment away from trench edges and excavation lines to protect stability and maintain access.
Frequently Asked Questions
Why is red clay so hard to trench in when it is wet?
Wet clay turns sticky and slick, clings to the bucket, and loses its ability to hold a wall. Fine particles keep it wet long after rain, and mud on the bottom prevents a firm bed.
Can you trench in red clay right after it rains?
Sometimes, but waiting is often better. It depends on rainfall, drainage, and trench depth. We check the soil, walls, and access route first, and we would rather lose a day than rework a muddy trench.
How do you keep a trench straight over a long run?
We mark the line, check it against reference points, and cut in controlled, steady passes. Where grade matters, a laser or transit holds the bottom true, and we watch the soil closely for hard patches.
What happens if we hit rock or hardpan while trenching?
It depends on what we find and how far it runs. We may change attachments, adjust the approach, or suggest another method. Piedmont sites often have shallow rock, so raising it during planning prevents surprises.
Can I reuse the red clay spoil to backfill the trench?
Sometimes, if it is dry enough to break up and place in lifts without voids. Wet, lumpy clay compacts poorly and settles later. Around the line, we want cleaner, finer material, guided by installation requirements.
How long can a trench stay open in red clay?
As briefly as the job allows. Open trenches face rain, wall movement, and traffic, and clay walls change quickly. We plan to open, install, and close in sequence so nothing sits exposed through a storm.
Clean Trenches Start Well Before the Bucket Moves
Red clay rewards crews that respect it. The same soil that frustrates a rushed job will cut clean and hold its line when the timing is right, the bottom is protected, and the plan accounts for what is hiding underneath. Most of what makes a trench straight happens before the bucket goes in: walking the route, making the weather call, setting up staging, and coordinating with the trades that follow. Those early choices keep walls stable and the bed firm.
Lighthouse Underground 2
has spent 25
years
trenching
in Whitsett, NC, and across the Triad and the wider Piedmont, and red clay is still the soil we know best. Every site teaches the same lesson. Slow down when the soil changes, respect what rain has done to the ground, and close the trench before the weather can reopen the argument. Work done with that patience leaves a line that stays true and ground that stays quiet for many decades.